Trip at a glance
Duration 8 days / 7 nights
Variation Moir overnight
Accommodation Mountain camping
Exit Mweka Gate
Price Personalised quotation
Explore Kilimanjaro on the Eight-Day Shira Plateau Route
Begin with vehicle access towards the Shira Plateau, then walk through its open mountain surroundings before continuing to Moir, Lava Tower and Barranco. This eight-day camping programme retains separate Karanga and Barafu stages before a summit attempt and descent through Mweka.
This proposal uses the Shira Gate and Simba Camp opening, followed by Shira 2 and a Moir-area overnight. The approach differs from Lemosho’s lower forest start: the vehicle journey brings you high on the mountain before the first walking stage. A shorter opening walk should not be mistaken for a gradual low-altitude introduction.
Day 3 moves from Shira 2 to Moir, then Day 4 continues via Lava Tower towards Barranco. The following stages cross the Barranco Wall, stop overnight at Karanga and continue to Barafu. This version does not include a separate Lava Tower overnight or a northern-circuit traverse.
The summit attempt is planned for Day 7, usually beginning overnight from Barafu and approaching the crater rim via Stella Point. Continuation towards Uhuru Peak depends on conditions and guide assessment. Afterwards, descend towards Mweka before completing the forest exit on Day 8.
Climb Africa Adventures prepares the proposal around your dates, group size and requirements. These are eight mountain days with seven camping nights. Arrival days, town hotels, airport transfers and onward activities are separate unless expressly included in your written quotation.
Eight-Day Shira Plateau Trek at a Glance
| Trip detail | Proposed arrangement |
|---|---|
| Mountain duration | 8 trekking days / 7 camping nights |
| Starting base | Moshi, with western access transfers as agreed |
| Entry arrangements | Londorossi registration and access towards the Shira starting area, as confirmed |
| Opening camp | Simba Camp on the Shira approach; allocation confirmed before booking |
| Plateau sequence | Simba → Shira 2 → Moir area |
| Day 4 traverse | Moir → Lava Tower → Barranco |
| Southern stages | Barranco Wall → Karanga → Barafu |
| Summit approach | Barafu → Stella Point → Uhuru attempt, subject to guide assessment |
| Summit stage | Day 7, followed by descent towards Mweka |
| Exit | Mweka Gate on Day 8 |
| Accommodation | Mountain camping, including the Moir area |
| Main planning consideration | High vehicle-assisted start and personal preparation |
| Departure and price | Personalised quotation; shared dates only when confirmed |
What Defines This Shira Plateau Programme?
A high western beginning
The first walking stage follows vehicle access towards the plateau. Confirm the actual starting point and discuss how the high start fits your preparation.
Time across the plateau
The opening sequence moves through Simba and Shira 2 before a Moir-area overnight. Open scenery and mountain views depend on weather.
A Moir overnight
Day 3 changes the camp rather than repeating a Shira 2 overnight. Any additional local walk depends on the guide’s assessment and conditions.
Separate upper stages
The route retains a Karanga overnight before Barafu, then uses Stella Point for the planned summit approach and Mweka for descent.
Route and Overnight Summary
| Day | Planned route | Main focus | Overnight |
|---|---|---|---|
| Day 1 | Moshi → registration → Shira starting area → Simba | Western access, high starting area and opening walk | Simba Camp |
| Day 2 | Simba → Shira 2 | Plateau walking | Shira 2 Camp |
| Day 3 | Shira 2 → Moir area | Additional plateau stage and a different camp | Moir-area camp |
| Day 4 | Moir → Lava Tower → Barranco | Higher traverse followed by descent to camp | Barranco Camp |
| Day 5 | Barranco → Barranco Wall → Karanga | Wall crossing and the Karanga stage | Karanga Camp |
| Day 6 | Karanga → Barafu | Summit-camp approach and preparation | Barafu; rest before departure |
| Day 7 | Barafu → Stella Point → Uhuru attempt → Barafu → Mweka | Overnight summit attempt and substantial descent | Mweka Camp |
| Day 8 | Mweka Camp → Mweka Gate → Moshi | Final forest descent and agreed town transfer | Town hotel only if included |
This is the Moir overnight variation. Vehicle access, first camp, local outings and daily timing follow the confirmed operational plan, park arrangements and guide decisions.
Detailed Eight-Day Shira Plateau Itinerary
Day 1 Western Access to Simba Camp
Complete entry and access arrangements
Meet the team at the agreed collection point and travel towards the western access. Complete the required registration arrangements, then continue by vehicle towards the confirmed Shira starting area. Road conditions and permitted access determine the practical drop-off.
Begin walking in the higher surroundings
Follow your guide towards Simba Camp with rain protection and other essentials accessible. The first walk may be shorter than on routes starting lower, but you are already in a high mountain setting. Follow the pace set by the guide and communicate how you feel.
Settle into the first camp
Organise your tent and sleeping equipment and follow the meal arrangements. Review the next plateau stage during the briefing. This programme does not begin with a Lemosho forest walk to Mti Mkubwa.
Route: Western entry arrangements → confirmed Shira starting area → Simba.
Main focus: High western access and the first mountain night.
Overnight: Simba Camp.
Meals: As itemised in your written mountain meal plan.
Day 2 Simba Camp to Shira 2 Camp
Walk across the plateau surroundings
Leave after the morning arrangements and follow the route towards Shira 2. The open landscape offers a different feel from a forest approach. Wind, cloud or rain can change conditions, so keep useful layers close at hand.
Follow the day’s agreed route
The team chooses the practical walking plan within the confirmed itinerary. A Shira Cathedral visit is not automatically included: any diversion depends on access, conditions and guide assessment. No particular viewpoint is compulsory.
Prepare for the Moir stage
At Shira 2, settle into camp and follow the afternoon plan. Organise equipment for the following day and raise practical concerns during the briefing. Remain with the agreed arrangements rather than exploring independently.
Route: Simba → Shira 2.
Main focus: Plateau walking and preparation for the next camp.
Overnight: Shira 2 Camp.
Meals: As itemised in your written mountain meal plan.
Day 3 Shira 2 Camp to the Moir Area
Continue beyond Shira 2
After breakfast and packing, follow the route towards the Moir area. Today adds another camp before the Lava Tower and Barranco traverse. Maintain the guide’s pace and take the agreed meal and rest breaks.
Settle into the confirmed camp
The name Moir Hut is commonly used for this route area; this proposal uses camping rather than promising a hut bed. Exact tent allocation and local arrangements follow the confirmed plan.
Review any local outing and the next stage
The guide may arrange an appropriate local walk when conditions and the group allow. Reaching a named Lent Hills high point is not a compulsory inclusion. Prepare for the following day’s higher traverse and descent towards Barranco.
Route: Shira 2 → Moir area.
Main focus: The additional plateau stage and preparation for Lava Tower.
Overnight: Moir-area camp.
Meals: As itemised in your written mountain meal plan.
Day 4 Moir via Lava Tower to Barranco
Continue towards higher terrain
Leave Moir and follow the route towards the Lava Tower area. Keep a measured pace and warm layers accessible. This stage rises before descending to the night’s camp, so it should be assessed by the whole day’s effort rather than the difference between camp heights alone.
Follow the guide’s plan through Lava Tower
The exact walking and meal arrangements depend on conditions and the group. The guide may adjust the programme when necessary. Walking higher and returning to a lower camp does not remove the possibility of altitude illness.
Descend towards Barranco
Continue to Barranco Camp and settle into the evening routine. Review the Barranco Wall stage during the briefing, including careful foot placement, group spacing and keeping the daypack organised.
Route: Moir → Lava Tower area → Barranco.
Main focus: Higher traverse and descent to camp.
Overnight: Barranco Camp.
Meals: As listed in your confirmed mountain meal plan.
Day 5 Barranco Wall to Karanga Camp
Cross the wall with your guide
Begin according to the team’s briefing and approach the Barranco Wall. Some sections require hands for balance and careful movement. Follow the guide’s instructions and avoid rushing past other walkers.
Continue through the undulating trail
Beyond the wall, the route includes both rises and descents towards Karanga. Keep attention on the walking rather than assuming the main effort ended at the top of the wall. Breaks follow the group’s pace and conditions.
Spend the night at Karanga
Stop at Karanga rather than continuing to Barafu. This separate overnight divides the southern approach into manageable planning stages, although the trek remains strenuous. Follow the afternoon programme and prepare for summit-camp arrival the following day.
Route: Barranco → Barranco Wall → Karanga.
Main focus: Wall crossing and the Karanga approach.
Overnight: Karanga Camp.
Meals: As listed in your confirmed mountain meal plan.
Day 6 Karanga Camp to Barafu Camp
Approach summit camp
Leave Karanga after breakfast and packing and continue towards Barafu. The surroundings become more exposed and sparse. Follow the guide’s pace and keep appropriate clothing ready for changing conditions.
Prepare the equipment you will carry
At Barafu, check your headtorch, spare batteries, gloves, warm layers and daypack with the guide. Ask about anything that is unclear before resting rather than leaving equipment questions until the night departure.
Eat, rest and receive the final briefing
Follow the meal and rest plan. The guide confirms the proposed departure time, communication and turnaround decisions. The summit attempt is conditional on the team’s assessment, the weather and your condition.
Route: Karanga → Barafu.
Main focus: Summit-camp approach and preparation.
Overnight: Barafu Camp; rest before the night departure.
Meals: As listed in your confirmed mountain meal plan.
Day 7 Summit Attempt via Stella Point, then Descend to Mweka
Begin the overnight ascent
Depart at the time confirmed by your guide, usually during the night. Wear the prepared layers and have your headtorch ready. The summit stage is demanding and follows a period of limited rest, so maintain the team’s pace and communicate clearly.
Stella Point and the onward decision
The planned ascent leads towards Stella Point on the crater rim. Continuing to Uhuru Peak depends on conditions and the guide’s assessment. A summit or a sunrise arrival is never guaranteed, and a turnaround can be the appropriate decision.
Return towards Barafu
After the attempt, descend towards Barafu for the agreed food and rest break. Keep enough energy and attention for the downhill walking. Reaching the highest point is not the end of the day’s physical effort.
Continue down to Mweka
Follow the descent towards Mweka for the final camping night. Clothing needs change as you lose height. The guide may adjust the descent and overnight arrangements when necessary, and the team explains any practical changes.
Route: Barafu → Stella Point → Uhuru attempt → Barafu → Mweka.
Main focus: Summit attempt and a substantial descent.
Overnight: Mweka Camp, subject to the operational plan.
Meals: As listed in your confirmed mountain meal plan.
Day 8 Mweka Camp to Mweka Gate and Return to Moshi
Complete the forest descent
After breakfast, pack your belongings and continue towards Mweka Gate. The lower path may be wet or muddy. Maintain careful footing and use your walking equipment as advised even though the ascent is complete.
Park checkout and transfer
The team coordinates the required exit procedures and the meeting point for your return vehicle. Keep personal equipment together and follow the arrangements explained by your guide.
Return to the agreed town address
Travel to the Moshi hotel or address confirmed in your quotation. Town accommodation, airport transfers and onward safaris are included only when listed. Allow a practical margin for the descent, formalities and road journey before any connection.
Route: Mweka Camp → Mweka Gate → Moshi.
Main focus: Final descent and the end of the mountain programme.
Overnight: Town hotel only if included.
Meals: As listed in your confirmed mountain meal plan.
Shira Plateau or Lemosho?
Both proposals approach from the western side but begin differently. The first days deserve as much attention as the summit stages.
| Planning point | This 8-day Shira variation | Our 8-day Lemosho |
|---|---|---|
| Opening access | Vehicle access towards the high Shira starting area | Lower walking start on the Lemosho approach |
| First overnight | Simba Camp, as confirmed | Mti Mkubwa |
| Second overnight | Shira 2 | Shira 1 |
| Third overnight | Moir area | Shira 2 |
| Day 4 | Moir → Lava Tower → Barranco | Shira 2 → Lava Tower → Barranco |
| Upper route | Karanga, Barafu and Stella Point | Karanga, Barafu and Stella Point |
| Exit | Mweka Gate | Mweka Gate |
A high start changes the opening altitude exposure. Discuss route suitability and recent altitude experience with the team before choosing. Neither itinerary guarantees acclimatisation or reaching Uhuru Peak.
Compare 8 Days Lemosho Route →Open Plateau Landscapes and the Southern Mountain Stages
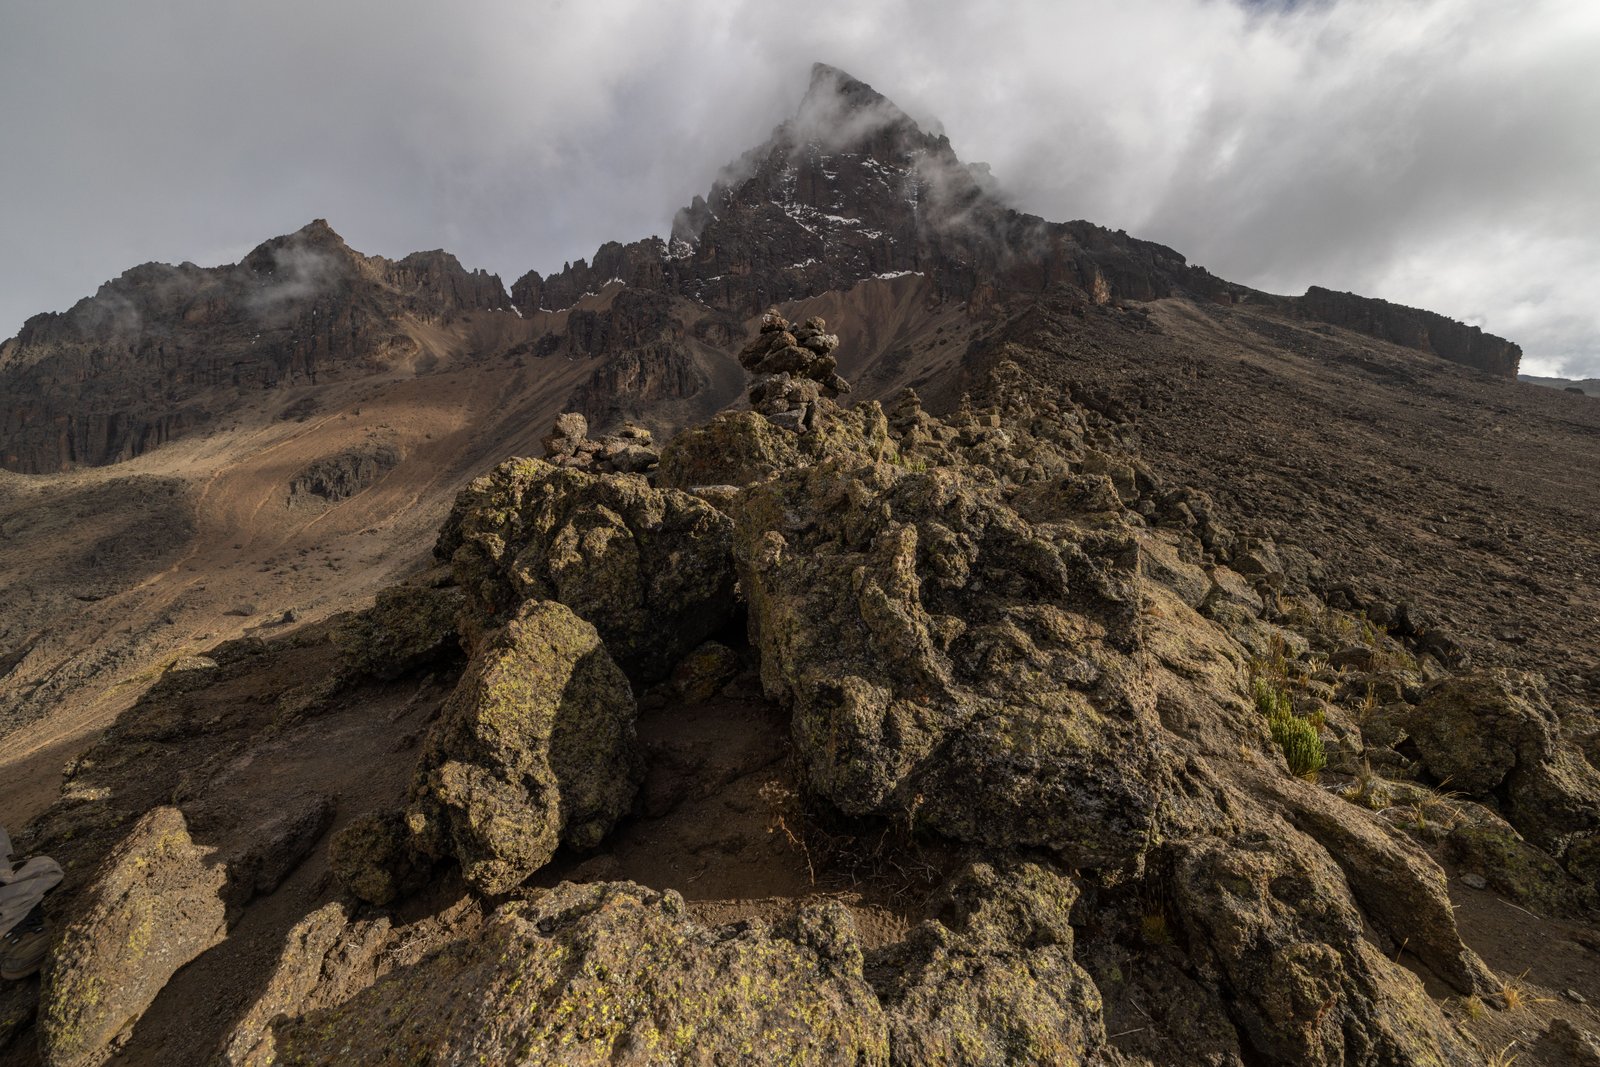
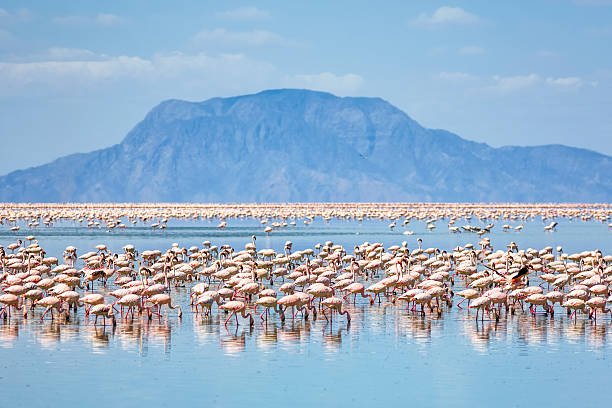
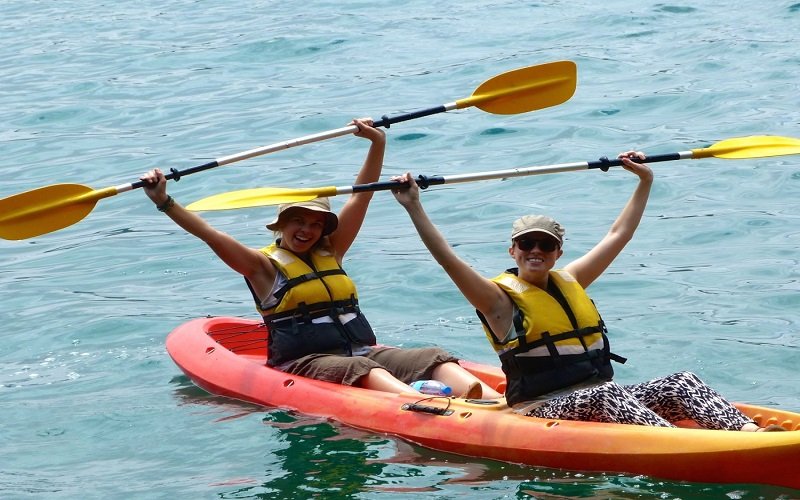
Images illustrate the journey. Views, weather, camp allocation and trail conditions vary; photographs do not guarantee a particular summit experience.
Seven Nights of Mountain Camping
This proposal uses tents throughout. Confirm sharing, sleeping mats, sleeping bags and rental equipment before booking.
| Night | Planned camp | Purpose in the programme |
|---|---|---|
| Night 1 | Simba, as confirmed | First night on the Shira approach |
| Night 2 | Shira 2 | Plateau overnight |
| Night 3 | Moir area | Additional camp before the Lava Tower traverse |
| Night 4 | Barranco | After the higher traverse and descent |
| Night 5 | Karanga | Separate stage after the Barranco Wall |
| Night 6 | Barafu | Rest before the overnight summit attempt |
| Night 7 | Mweka | Final mountain camp after the descent |
| Before / after trek | Moshi or another agreed base | Town hotels only when quoted |
Camp names and allocation
Shira Hut and Moir Hut may appear as route-area names. This programme does not promise sleeping inside a hut. Confirm the actual camp allocation and starting arrangements in the written proposal.
Personal equipment and optional extras
Ask separately about single sleeping tents, private toilet tents and hired equipment. Confirm supplied items rather than assuming every personal sleeping item is included.
A Typical Day on the Shira Plateau Programme
Morning preparation
Follow the breakfast and packing arrangements, organise your daypack and listen to the stage briefing. Keep rain protection and other immediate essentials accessible rather than packed with crew-carried luggage.
Walking and breaks
Follow the guide’s pace and stay with the agreed group arrangements. Open plateau terrain, the Barranco Wall and exposed higher sections require attention. Meal stops and breaks are arranged around the actual day.
Afternoon at camp
Settle into your tent, organise clothing and equipment and follow the rest plan. Additional local walking takes place only when appropriate and approved by the guide.
Summit-camp routine
At Barafu, the focus changes to equipment checks, the final briefing, meals and rest before the overnight departure. Review your warm layers, gloves and headtorch before the planned attempt.
Meals and Practical Camp Arrangements
| Planning point | What to confirm |
|---|---|
| Mountain meals | Which meals are included on each day, especially the first and final days |
| Dietary needs | Share requirements before booking for practical review |
| Drinking water | Confirm the supply and treatment arrangements |
| Personal snacks | Ask what is provided and what to carry yourself |
| Shared equipment | Review tents, sleeping mats and communal camp equipment |
| Power and connectivity | Do not rely on guaranteed charging facilities or phone coverage |
What Is Included and Excluded?
Your final quotation confirms the mountain services, equipment and support arrangements purchased. Read both lists before paying a deposit.
Proposed inclusions
- Eight-day Shira Plateau programme with Mweka descent.
- Mountain guiding and crew services as specified.
- Park, camping and applicable statutory fees expressly listed.
- Seven mountain camping nights in the agreed tent arrangement.
- Sleeping mat and communal camp equipment where itemised.
- Mountain meals and drinking-water arrangements as confirmed.
- Agreed western access transfers and return from Mweka Gate.
- Pre-trek briefing and equipment review as arranged.
Not included unless agreed
- International or domestic flights and visa expenses.
- Personal travel insurance with appropriate trekking cover.
- Airport transfers and town hotels not expressly listed.
- Personal clothing, boots and trekking equipment.
- Sleeping-bag and other equipment rentals unless itemised.
- Single-tent or private-toilet supplements.
- Tips and personal purchases.
- Extra costs following a changed or shortened programme unless covered by the agreed terms.
Ask about communication, emergency equipment, evacuation arrangements and related costs before confirming. Park-related fees do not replace suitable personal insurance.
Information Needed for Your Shira Plateau Quotation
| Planning detail | What to tell us |
|---|---|
| Dates | Preferred mountain starting date and arrival arrangements |
| Group | Number of trekkers and private or shared departure preference |
| Experience | Recent trekking background and previous high-altitude experience |
| Camping | Tent-sharing preference and equipment rental requirements |
| Transfers | Collection address, airport services and finishing point |
| Other arrangements | Town hotel nights, dietary needs and onward travel |
No fixed public price is displayed here. Request a clear total showing the selected services, optional extras, payment terms and cancellation conditions.
Essential Equipment for the Shira Plateau Route
Use the full equipment checklist and complete the pre-trek kit review. This table is a planning overview rather than a complete packing list.
| Equipment group | Items to review | Planning note |
|---|---|---|
| Footwear | Broken-in trekking boots, suitable socks and optional gaiters | Check comfort before travelling |
| Clothing | Base layers, insulation, warm layers, gloves and headwear | Follow the full high-mountain clothing checklist |
| Weather protection | Waterproof jacket, waterproof trousers and dry storage | Keep important layers protected and accessible |
| Sleeping | Appropriate sleeping bag and confirmed sleeping mat | Check specifications and rental provision in advance |
| Walking | Daypack, trekking poles and water-carrying system | Review capacity, fit and crew luggage arrangements |
| Summit items | Headtorch, spare batteries, warm layers and eye protection | Review the complete kit before summit night |
| Personal essentials | Sun protection, toiletries, personal items and documents | Keep essentials in your own accessible bag |
Preparing for the High Shira Start
Discuss recent altitude exposure
Tell the team where you have recently trekked and how much time you have spent at altitude. The vehicle-assisted high start needs specific discussion; fitness alone does not describe how you will respond to altitude.
Review the exact route variation
Confirm the first camp, Moir overnight and Lava Tower traverse. Other eight-day Shira itineraries can use different camps, so compare the day-by-day programme rather than relying on the route name alone.
Prepare for the entire journey
Build experience with consecutive walking days, uneven ground and a long descent. Use your boots and daypack before travelling so equipment comfort is already familiar.
Keep communication clear
Tell the guide promptly if you feel unwell or notice a change in your condition. Follow decisions about pace, continuation, turnaround and descent. Discuss individual medical concerns with a qualified clinician before travel.
Allow practical travel margins
Arrange the briefing and equipment review before Day 1. Leave realistic time after the final descent before flights or another demanding programme, and itemise town services separately.
Thoughtful Trekking and Camp Habits
- Follow the agreed route and the guide’s instructions.
- Keep your tent and communal spaces tidy.
- Carry personal waste as directed and use designated facilities.
- Respect staff and other travellers when taking photographs.
- Keep important personal items organised and accessible.
- Avoid independent outings around camp, especially after dark.
Compare Other Kilimanjaro Routes
Frequently Asked Questions
Are these eight mountain days?
Yes. Arrival, departure travel, town hotels and airport transfers are separate unless expressly included in your quotation.
Which eight-day Shira variation is shown here?
The version using Simba, Shira 2, Moir, Barranco, Karanga, Barafu and Mweka, with the Lava Tower traverse on Day 4.
Does the trek begin with a Lemosho forest stage?
No. This proposal uses vehicle access towards the higher Shira starting area. The exact drop-off and first camp must be confirmed.
Why does the high start need discussion?
You gain substantial height by vehicle before the opening walk. Discuss recent altitude exposure and route suitability with the team rather than assuming a short first walk is an easy introduction.
Is a Shira Cathedral visit included?
Not automatically. Any diversion or viewpoint depends on the confirmed plan, access, conditions and guide assessment.
Do we sleep inside Moir Hut?
This proposal uses camping. A route-area name containing Hut does not itself confirm an indoor bed.
Is climbing a Lent Hills high point included?
A particular high point is not promised. Any additional local outing is selected by the guide according to the group and conditions.
Do we sleep at Lava Tower?
No. Day 4 passes through the Lava Tower area and continues to Barranco for the night.
Which summit approach is used?
The planned Day 7 attempt starts from Barafu and approaches the crater rim via Stella Point. Continuation towards Uhuru depends on guide assessment.
Is Northern Circuit, Western Breach or Crater Camp included?
No. This proposal follows the southern stages through Barranco and Karanga to Barafu, with descent via Mweka.
Does eight days guarantee acclimatisation or a summit?
No. Altitude response, weather and other conditions affect the climb. The guide may change the plan or require a turnaround or descent.
Does the enquiry form reserve the trek?
No. It prepares a message for the configured WhatsApp or email channel. Send it in that application; booking follows an agreed written proposal and its terms.
Plan Your Eight-Day Shira Plateau Trek
Send your dates, group size, trekking background and recent altitude experience. Include rental equipment, town hotels and transfer requirements so we can prepare a clear proposal for this Shira variation.
Request My Shira Plateau Quote →